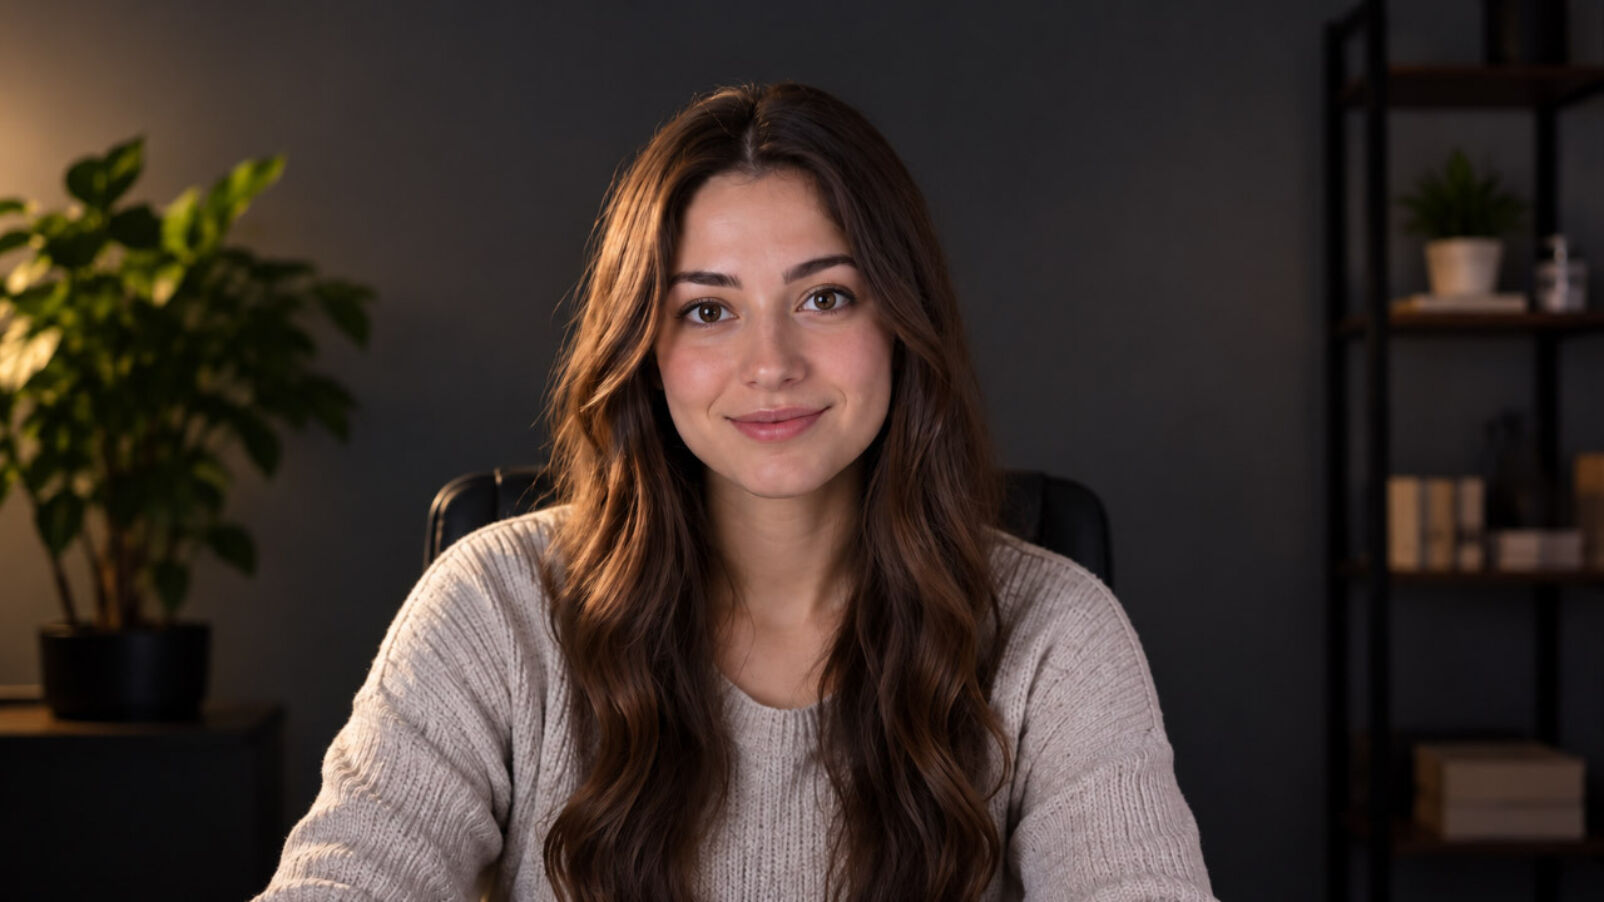
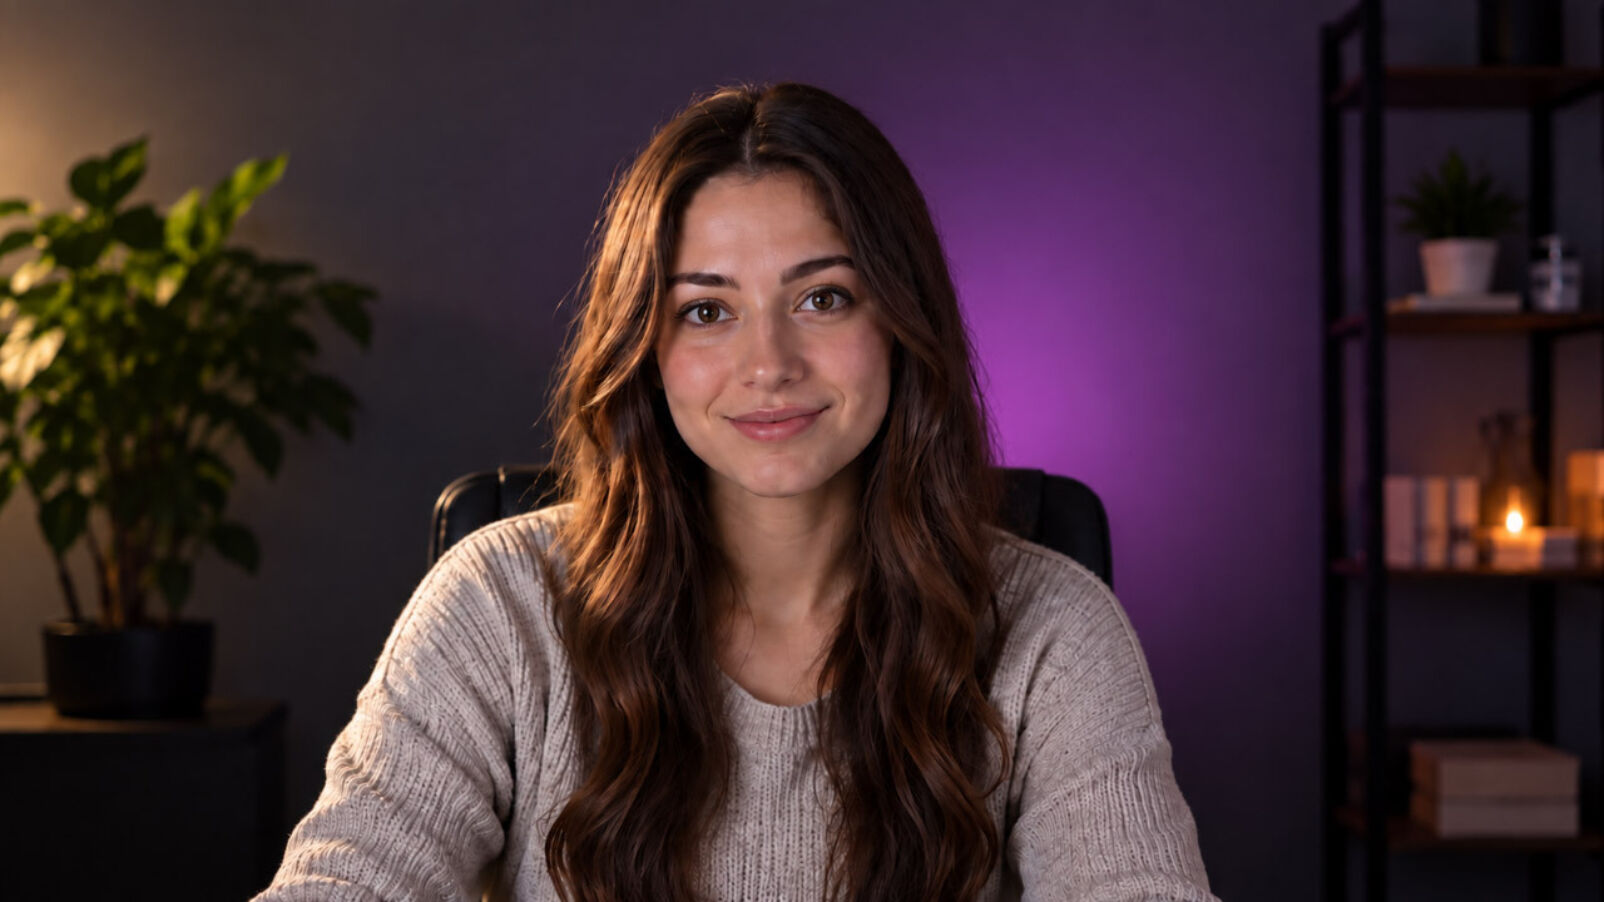
A $30 lighting fix will do more for your stream quality than a $200 webcam upgrade, every time.
48.5% of viewers click a room based on the thumbnail preview, lighting quality is what that thumbnail looks like.
Turn off your ceiling light before anything else, overhead lighting creates downward shadows that no camera can fix.
Most new models spend their first gear budget on a webcam. It's the most visible item, has obvious specs, and feels like the right lever.
It's usually the wrong one.
Your webcam records what the light in your room gives it. When that light is bad, the sensor compensates, and that compensation is exactly what makes your stream look cheap. The mechanism, the gear that actually matters, and how to set it up in a real bedroom are all below.
For the full picture on microphones, backgrounds, and room setup, the studio setup guide covers everything together. If you're just getting started, our complete guide to becoming a cam model is the place to begin.
Why Lighting Beats Your Camera
Here's the mechanism. When your room is dark, your webcam raises its ISO, the sensor's digital sensitivity. Higher ISO means more digital noise: the grain and speckle visible on your skin, especially in shadowed areas.
That noise is already ugly raw. Then the video codec compresses it and it gets worse.
The result is the chunky, grainy, slightly-blurred look that makes a stream look cheap. The cause is almost never the camera.
Chaturbate caps new accounts at 720p/3 Mbps. Stripchat maxes out at 1080p/6 Mbps. At those bitrates, anything above a 1080p camera adds zero viewer-visible benefit. The bottleneck is your light source, not your sensor. As our webcam selection guide puts it: "If your lighting is already good, a smaller sensor is fine."
48.5% of viewers click into a room based on the thumbnail preview, ahead of attitude, tags, viewer count, or anything else. The thumbnail is a live video frame. Lighting quality is your first impression before a single word of chat.
I would invest in good lighting first because it can make a huge difference and save money vs dslr and lens.
The camera upgrade can wait. The light cannot.
Ring Light, Softbox, or LED Panel: Which Should You Buy
Three types of lights dominate cam model setups. Each solves a different problem, and each has a real downside that most guides skip.
Clamp Lights & Ring Lights : Good For Close Ups
Clamp lights are small lights that mount on a stand or desk clip. They are fast to set up, very affordable, and easy to find.
The downside: clamp lights don't generally produce a strong light, which can be an issue if you're aiming for full body shots further from the camera.
LED Panels: Great For Small Spaces
LED panels are flat fixtures that mount to a desk clamp, tripod, or wall arm. They're the small-space specialist. Better models offer app-controlled color temperature, and consistent output.
For example, two adjustable LED panels and a colored neon light in the background are enough for great lighting and a real atmosphere.
Softboxes: Get One If You Have Space
Softboxes are fabric-diffused lights on floor stands. They produce the most flattering, natural-looking light of the three types, soft shadows, good skin rendering, dimensional without being harsh. They're the right pick for bed setups or full-body work where you need wide coverage. Count around $60 dollars for a decent starting kit.
The downside: each stand needs roughly 18–24 inches of floor clearance around its base. In a small bedroom, that matters.
Color Temperature: A Quick Guide
Color temperature is measured in Kelvin. Lower numbers (2700–3000K) are warm while higher numbers (5000–6500K) are cool daylight blue-white.
Set your main light (key light) to neutral or daylight mode, 5000–5600K. That's the professional video production standard for indoor subjects.
Don't go for a warm key light. On compressed video, it doesn't. Warm amber combined with any existing room warmth produces muddy yellow-orange skin tones that degrade further with bitrate compression.
Not warm. Neutral.
Keep warm lights or colored lights for your second or third light source, which is described in the next section.
Nailing Your Light Positions: One Light, Two Lights, Three Lights
Turn off the ceiling light before you do anything else. Overhead light points straight down and creates hard shadows under your eyes, nose, and chin before your dedicated cam light is even on. It's the first thing to remove, not an afterthought.
Where you put your lights matters as much as which lights you buy. The three setups below build on each other.
Understanding the three point lighting.
One Light: Key Only
A single key light such as a soft box or a decent led panel can be enough for most desk and face-forward setups. Avoid cheap clamp lights as your only light source. They often aren't bright enough once you move back from the camera, and they cast harsh shadows on your face.
In general, you want your key light behind the camera on your left side, and above eye level. That angle adds cheekbone definition, reduces ring-eye reflection, and creates the dimensional lighting that holds up on a compressed feed.
For most setups, you don't need a second dedicated light at all. A sheet of white foam board on the shadow side bounces enough reflected light to do the same job for free. Put it roughly where a second light would go and watch what it does to the shadow. But if the shadow side still looks harsh after the foam board, add a second lamp.
Key light only
Two Lights: Key + Fill ,or Key + Background
With two lights you have a decision to make. You can either soften your shadows or light your background. With both, you have room to play with color or warmth, as long as your key light stays neutral.
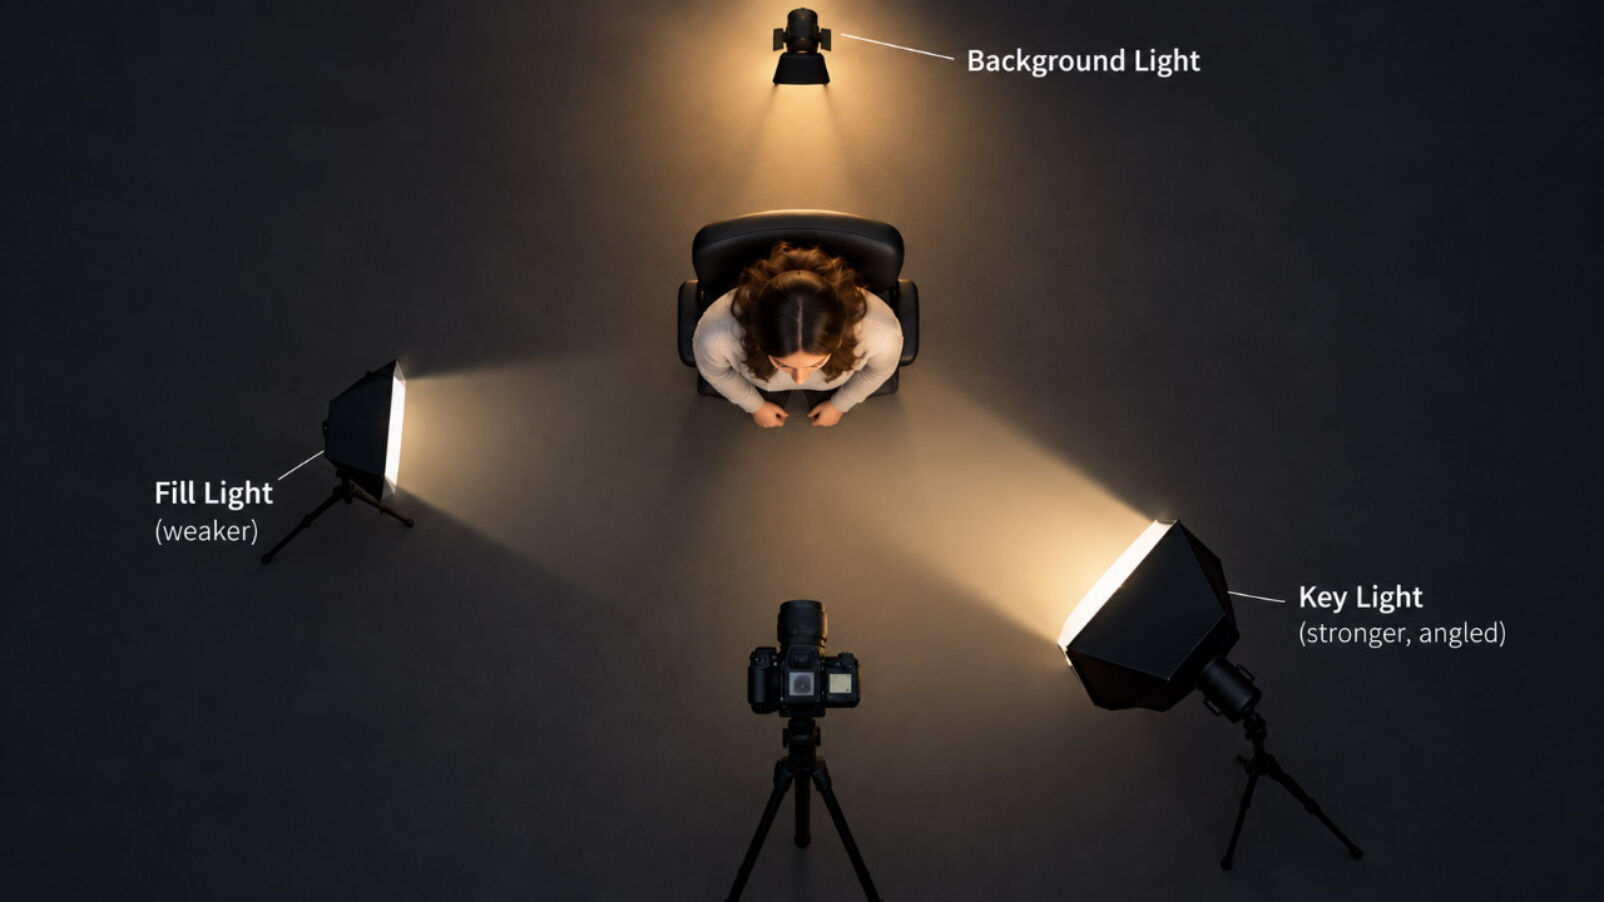
A fill light's only job is to soften the shadow on the opposite side of your face. It should not match your key light in intensity. It should be noticeably dimmer. If space is tight, both lights can go on the same side, one higher (key), one lower (fill). The height difference creates dimension.
A background light's job is to brighten whatever's behind you so it doesn't disappear into the dark. Point it at the wall, not at yourself, and keep it dim.
Key and fill together
Three Lights: Key + Fill + Background
The popular three-point lighting setup, and the point where you stop choosing between fill and background and just do both. With a third light, the trade-off from the previous section disappears: the key shapes you, a dedicated fill softens the shadow side, and the third light handles the backdrop.
Position the background light behind you, aimed at the wall or backdrop rather than at you. Keep it off your skin entirely. A small LED panel works well here; it doesn't need to be bright, just enough to give the background its own exposure.
Get your key and fill sorted first. Background lighting is the third priority, not the first, and adding it before your subject lighting is clean will not help.
For body-forward compositions or faceless cam setups, the same logic applies. Just orient your light positions toward what the camera is actually showing.
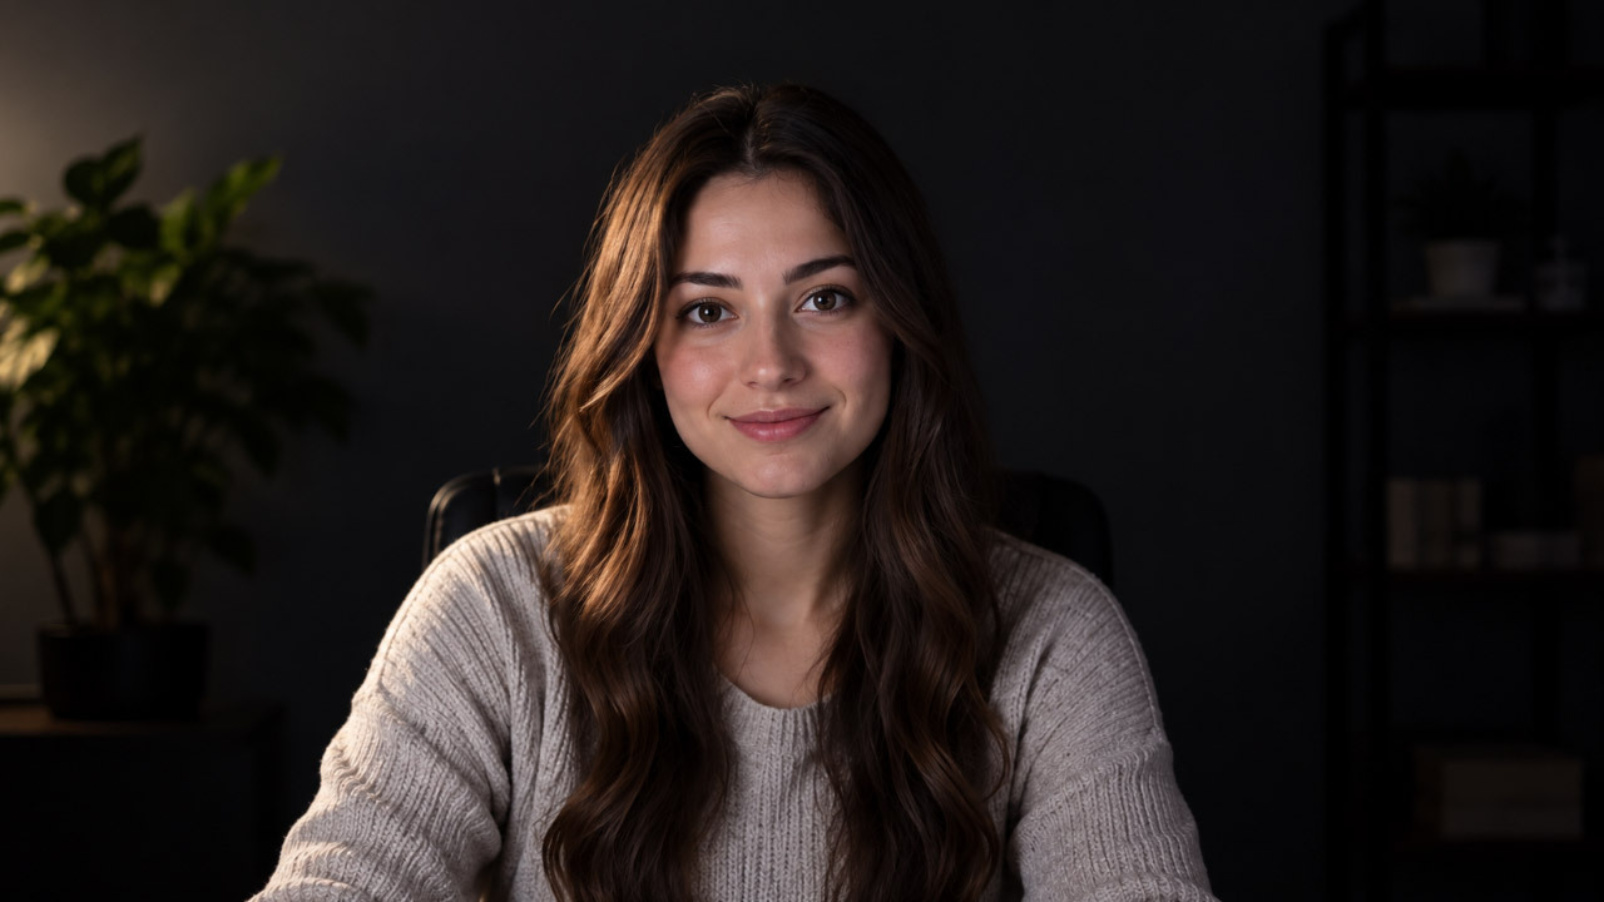
Key, fill and background for a more professional result.
Choosing Gear: What to Actually Buy
Now that you know where your lights go, let's look at what to buy. These are just recommendations based off amazon reviews, so feel free to explore other options, especially in your own region, and make sure to check reviews and videos before you commit.
Clamp lights
iZell clamp light
Ulanzi le20
Ulanzi K20
LED Panels
Neewer BP66 x2
Elgato Key Light Neo
Elgato Key Light
Soft Boxes
Torjim Softbox Photography Lighting Kit, 16'' x 16''
Godox SL60W LED Video Light + NEEWER Octagonal Softbox Kit SL60w + Lightstand
The Godox SL60W and Aputure 60X are worth researching if you're moving toward near-DSLR production quality. Overkill for most cam setups, but they're the ceiling for models building a permanent studio.
Don't get an expensive softbox, it's unnecessary. Also make sure you're buying an entire softbox kit and not just the umbrella!
Common Mistakes and How to Fix Them
Most stream quality problems have a lighting cause. Almost all of them are fixable tonight without buying anything new.
Overhead ceiling light as primary source. Ceiling light points straight down and creates hard shadows under your eyes, nose, and chin, the "ghoul lighting" effect. Your camera can't fix it because the shadows come from the geometry of the light, not the sensor. Fix: turn it off, put your dedicated light in front of you.
Ring light centered at camera height. Flat, dimension-free lighting, plus a visible ring reflection in your eyes on close-up shots. Fix: raise the ring light 10–15 degrees above your eye line.
Not testing before going live. Most lighting problems get discovered mid-show when it's too late to fix them cleanly. Fix: run a two-minute test recording before every stream. Watch it back on your own feed. Catch the problem in the two-minute window, not the two-hour one.
FAQ
Can I use natural daylight for camming?
Natural daylight can work as a supplement, but not as a primary source. It changes color temperature across the day, shifts with cloud cover, and can't be moved when you do.
How to fix ring-light reflection in my eyes on camera?
Raise it 10–15 degrees above your eye line, or add a diffusion cover. A pillowcase over the ring works. At normal webcam distances it's less obvious, but the elevated angle improves your light quality regardless.
Do I need to light my background?
Only if your background is part of the show, a colored backdrop, a styled set, something you want viewers to notice. For most bedroom setups, a well-lit subject against a naturally dim background reads fine on camera. Getting a background light before your key light is sorted is the wrong order of priorities.
What's the minimum gear I can start with?
One controlled front-facing light source pointed at your face. That can be a $15 clamp light with a daylight bulb, a $40 ring light, or anything in between. Turn off your overhead ceiling light, put the new source in front of you, and your feed will look noticeably better right away.